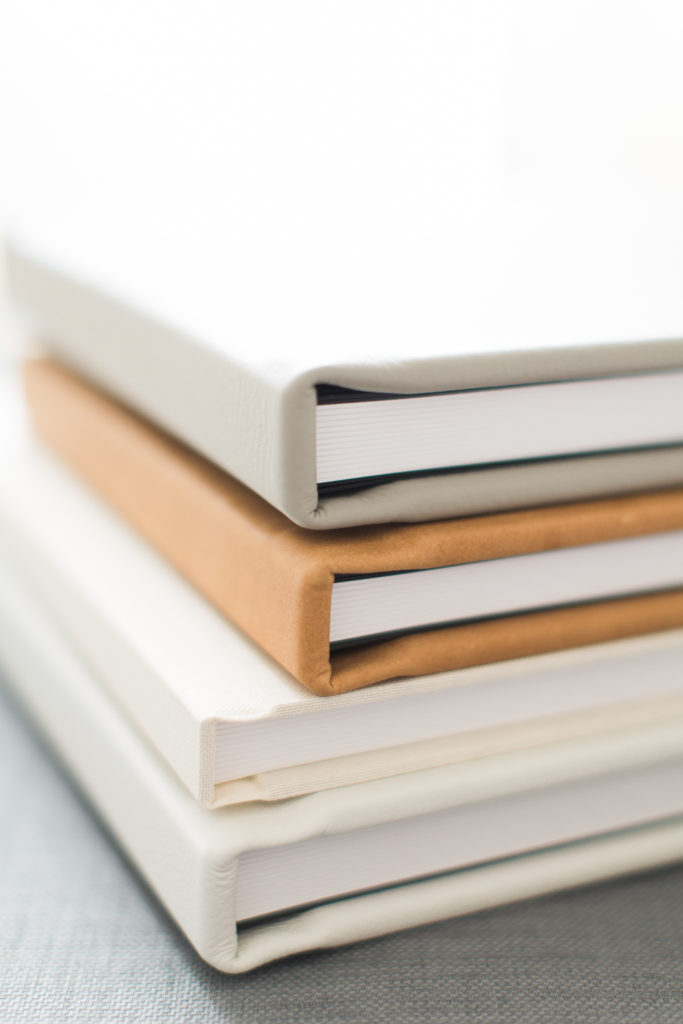
How to make your wedding album
Many of you may have access the digital files from your wedding photographer, hooray! You really wanted those right? And now you have SO many! But it can be overwhelming to narrow them down for your wedding album, prints or even to share online! In this post I will share my workflow on how I design a wedding album and maybe that will help you get them done!
Why Make an album?
First of all we have to address this question, why even bother making an album? You have the files, they are on facebook/instagram/social media account of the current moment. Plus, albums are soooo expensive!
They Are Your Family’s First True Heirlooms
As an immigrant some of the only things I have from my (wonderful) childhood are a handful of photos. As the years go by I also seem to forget more and more details, which is why photos are SO important. Whenever I see a photo from ye olden days I know that it’s something rare and precious.
If your files only live online, what are you going to grab to show your friends, family, relatives, future kids, nieces & nephews when you want to share the highlights from your wedding day? Looking at photos online doesn’t have the same effect as piling up on a couch to look at photos.

My Wedding Album Workflow
For my own wedding clients I have the privilege to design their albums, and I use my own artistic memory of the day. I spend time narrowing down photos to the best of the best, fine tuning them and working closely with my album manufacturers to make sure the album is perfect. If it’s not perfect I don’t waste a minute to have it fixed until it’s perfect.
- Pick your favorites Set aside about 30-45 minutes at least to go through your photos in GREAT detail and try to narrow them down as much as possible. You can be ruthless during this phase, it will save a lot of time later. I suggest picking 50-100 photos!
- Copy the favorites to a new folder. This will save you lots of time if you need to redo the album or upload them to a website. If you’re using my PASS gallery system then you can Mark your favorites using your email address as long.
- Send them to me if you’re making the album through me. I’ll fill in any gaps or make suggestions of how to cut it shorter.
- If you’re self-publishing, then you can upload it to the manufacturer’s website to start laying it out.
- Make sure you’re telling a full story of the day. I like to break it down to these phases:
- Setting the scene with a photo of the invitation or landscape, outdoor photo
- A spread of the bride & bridesmaids getting ready
- A few pages of the groom & groomsmen putting on the finishing touches
- First look (if there was one) photos
- Family photos
- Bridal party photos
- Ceremony setup & processional
- Ceremony finish and exit
- Cocktail hour setup & guests
- Additional Family photos
- Reception details like flowers, room photos
- Introductions, speeches, dances and events
- Crazy dancing photos
- Ending (special exits)
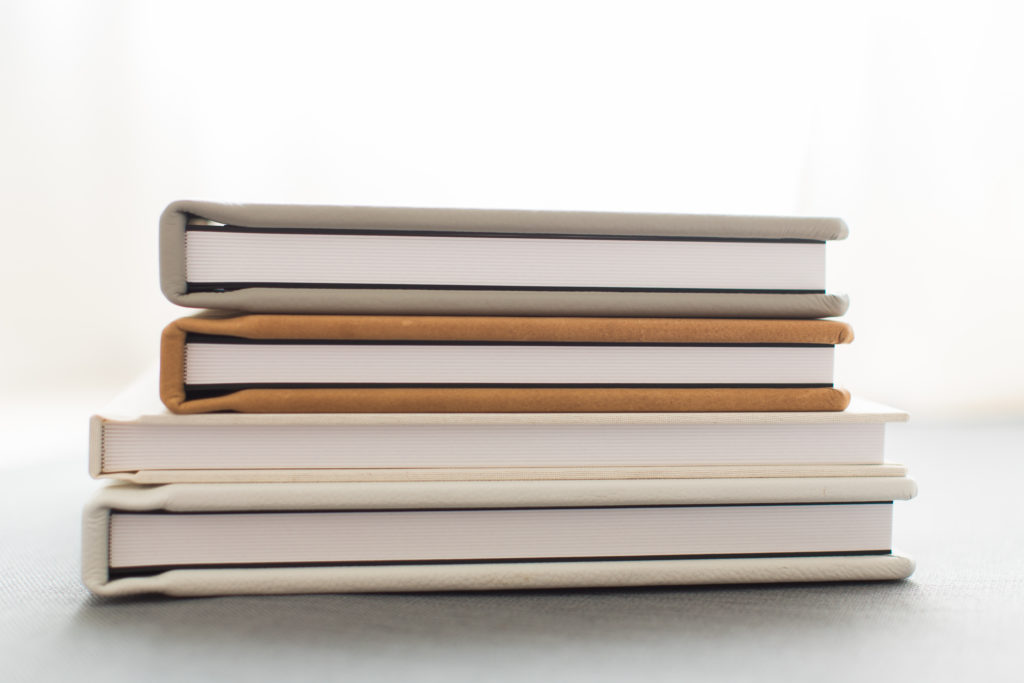
Where and how to get them made?
This is a bit tricky, since most consumer grade printers are not consistent and there’s no way to control the quality of their printing, warranty, craftsmanship. So for those reasons I can recommend the following manufacturers:
- Have it made by your photographer – As I mentioned, most of us have a strong relationship with the manufacturers so if there are any issues you have a warranty. Having a working relationship with them means that we know the quality of colors, paper and printing and it shows the photos in the best light and most archival quality. For full transparency, I use KISS books and LOVE them.
- Artifact Uprising – A great, local Colorado company started by some friends of friends of ours. I love their matte paper and they make it very easy to lay out photos.
- Blurb – The only other place I will recommend because most online printers are pretty terrible. We’ve used Blurb many times, and it’s not bad for an affordable option.
0
COMMENTS